Table of Contents
There are many factors to consider when choosing the correct wax for your car, we aim to simplify them with our straight forward guide.
What Is Car Wax?
Depending on your level of enthusiasm for car care, car wax may or may not be a common phrase to you. Hours upon hours are spent up and down the country at weekends with car cleaning enthusiasts smearing wax all over their pride and joy.
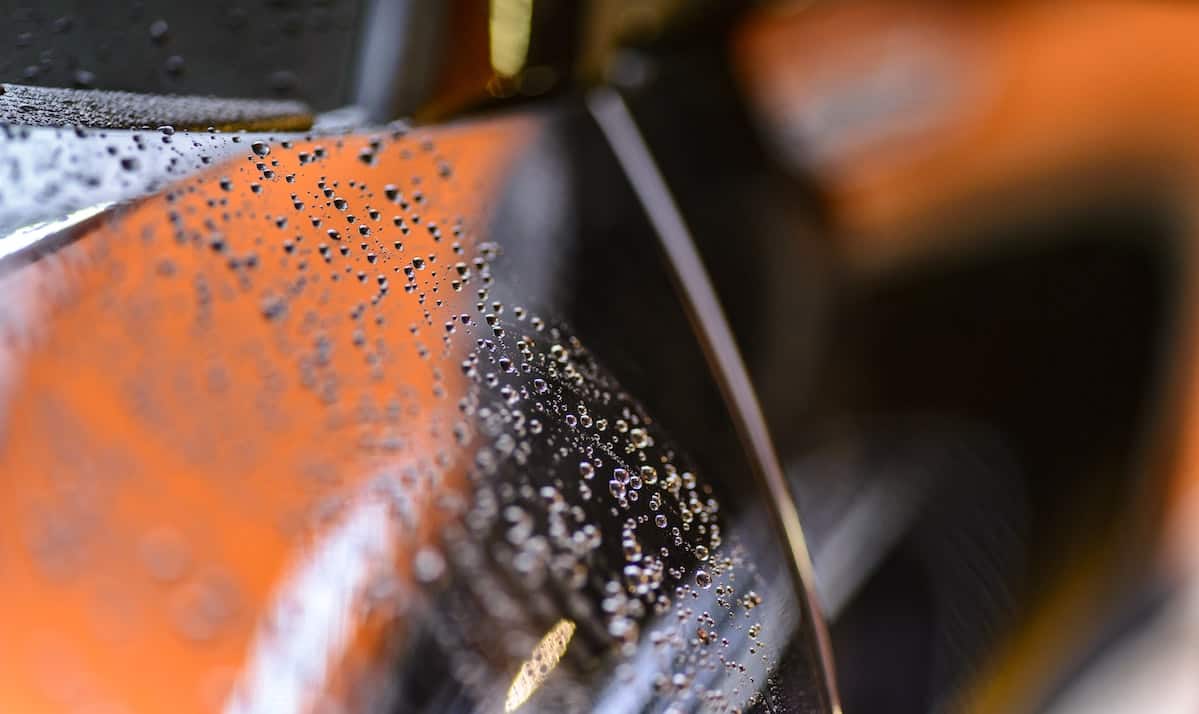
Essentially, wax has one function – to protect. It’s fundamental purpose is to protect the paintwork of your vehicle from potentially damaging nasty stuff such as rainwater, air pollution, road salts and grit etc. Applying a wax to the paintwork of your vehicle will create a hydrophobic coating which will attempt to repel any of the aforementioned items and protect your vehicles paint. Some do this much better than others, some are cheaper than others and some are much more complex to apply.
Coating your car in a good quality wax will also make washing and drying much easier and stress free. A freshly waxed car will take substantially less time to clean and dry due to the wax repelling the majority of muck from our beleaguered roads.
Applying a wax to your paintwork will also provide one other huge benefit – a shiny finish. Everybody loves a shiny car to drive to work on a Monday morning in, applying a good quality car wax will do just that.
What Should I Do Before Applying A Wax?
This step is hugely important. Get this wrong and you’ll drastically reduce the impact of your wax, get it right and you’ll reap the rewards massively. A common misconception is to wash a car and then give it a coat of wax. In order to get to the most from a car wax, the paintwork has to be as contaminant free as possible. By contaminants, we mean nasties such as tree sap, iron fall out, road tar etc. Failing to remove these from the paintwork prior to waxing will significantly reduce the impact of your wax.
How Do I Remove Bonded Contaminants From My Paintwork?
There are a few different options available when removing bonded contaminants from paintwork. First of all, and arguably most effective, is the use of a clay mitt. As the title suggests, this is a wash mitt which comprises a layer of clay attached to one side of the mitt. Clay mitt’s are extremely easy to use and produce stunning results.
- Wash your car as normal with your shampoo of choice
- Lubricate your clay mitt with the shampoo and ensure it’s nice and wet.
- Using light pressure, gently work the clay mitt across the paintwork. You’ll feel and hear when the clay comes in to contact with bonded contaminants. Keep working your mitt gently across the area until it becomes silky smooth and the mitt glides across it nice and easy.
- Dip your mitt back into your wash bucket and move on to your next panel.
- Repeat the steps above until you’ve covered the entire car
- TOP TIP: Clay mitts are completely safe on glass as well as paintwork
- Once you’ve finished with your mitt, rinse it under a cold tap and allow it to dry.
Next up is a clay bar. A clay bar is a slightly older fashioned version of a clay mitt. Clay bars have been around for a long time and do exactly the same thing as a clay mitt, however they do require a little bit more effort and time. Some clay bars require the use of a specific lubricant / quick detailer. We advise using a clay bar which is suitable for us with shampoo or just water, they are much easier to work with.
- Your clay bar will arrive in one solid piece of clay, you can break this up into smaller pieces to make it last longer and reduce waste
- Once you’ve broken your clay up into a small piece (3cm x 3cm for example), dunk it into some hot water and let it sit in there for about 5 minutes, this will make the clay much easier to work with and will help you manipulate it into a bigger, more workable size.
- Ensuring that car is thoroughly clean, saturate the panel of your choice with water via a spray bottle.
- Once the panel is sufficiently wet, begin working the clay bar across the panel in light, gentle passes. As you drag the clay across the panel, you’ll hear, and see the contaminants begin to work free from the paint. Ensure that you keep the panel wet at all times, you can’t use too much water here, keep it wet.
- Repeat these for the entire car ensuring the swap the piece of clay for a new one when it’s completely covered in contaminants.
- Unlike a clay mitt, a clay bar is unfortunately a one time use product. Once you’ve finished with your piece of clay, it’s ready for the bin.
How Do I Apply The Wax?
Applying a wax to a car is relatively straight forward with a few key caveats, follow them and you’ll be just fine. It’s important to not try and do too much at once, work In smaller areas at a time. A lot of waxes come with an applicator pad included in the package, use this to apply a nice uniformed layer of wax on to the pad and begin working. Start applying the wax to a panel of your choice (Wing for example) and rub the applicator pad in circles ensuring that all parts of the paintwork are covered. Allow 5-15 minutes for the wax to dry to a haze (drying times will vary between waxes and also outdoor conditions). You should never apply a wax in direct sunlight and equally, you should never wax a car if it’s too cold.
How Do I Remove The Wax?
Once you have allowed the wax to cure and dry properly, you can begin removing it. A good way to testing whether the wax is ready for removal or not is to run your finger through the wax in a straight line. If the wax feels hard and and clear line appears underneath, it’s ready to remove. Take a fresh, clean microfibre cloth and begin buffing the wax to remove it. Ensure that there is no wax residue left on the panel before moving on to the next one.
Conclusion
In summary, waxing your car is a great way of protecting and enhancing the paintwork of your vehicle. We sometimes spend thousands of pounds on cars, it makes perfect sense to invest a small amount of time and money to ensure that they are sufficiently protected.
By following this guide you’ll be sure to add additional protection to your vehicle whilst achieving a showroom shine as an added bonus.